Description
Flight Velocity Trim Wheel
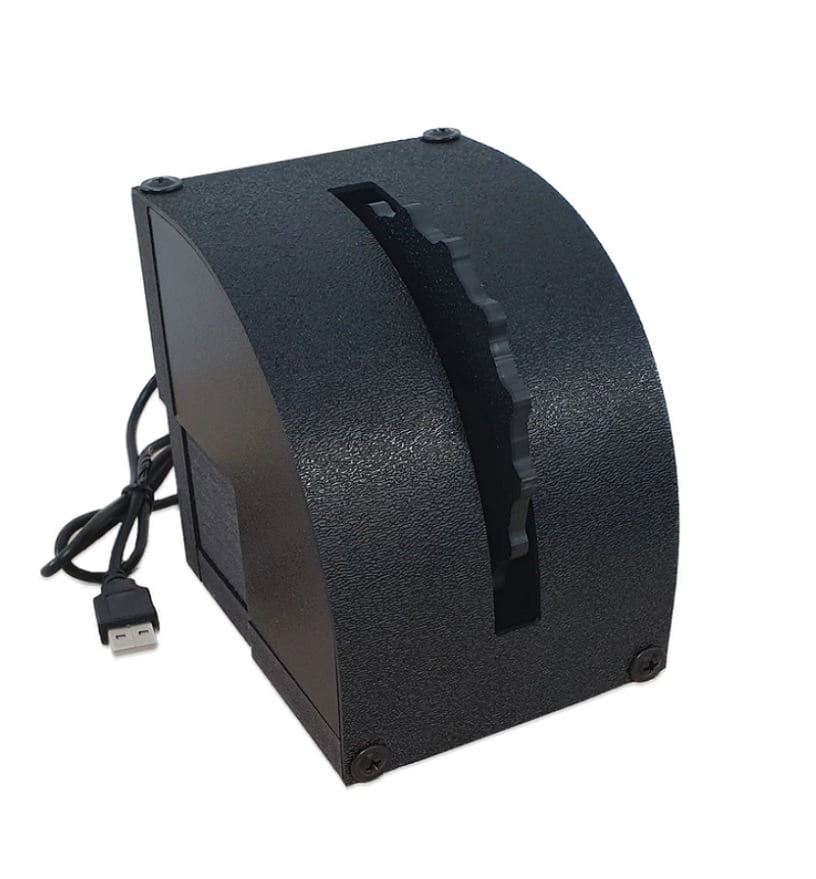
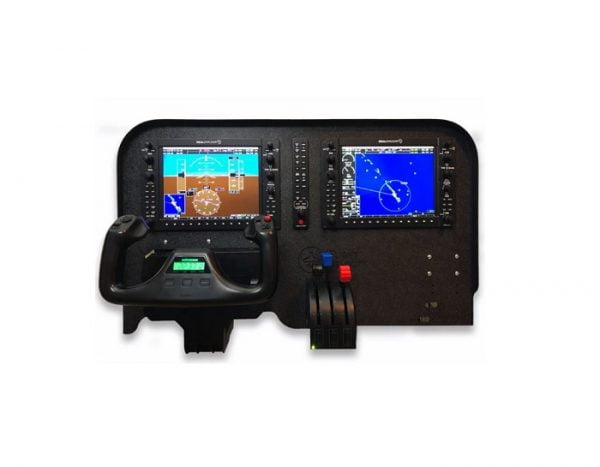
After years of asking, “why doesn’t someone make a trim wheel?”, we decided we would! Introducing the first-ever, Flight Velocity Trim Wheel. Our elevator trim wheel is fully compatible with X-Plane, Prepar3D, and FSX and has the exact form factor of the original to which it pays homage. In fact, it has the same mounting holes as the original which means its compatible with all of our panels as well as older Saitek mounting brackets. Take your flight sim to the next level with this simple, yet integral part of the flight sim experience.
Installation Instructions
X-Plane:
- Plug the trim wheel into an available USB port. The computer will automatically recognize the trim wheel.
- Download these two files and copy them into your “\X-Plane 11\Resources\joystick configs” folder. (NOTE: your X-Plane folder could be on your desktop, in your C:\ drive, or some other location you specified during the X-Plane installation process)
- Flight Velocity Elevator Trim.joy
- Flight Velocity Elevator Trim.png (right-click > Save link as…)
- Start X-Plane, it should recognize the new hardware and prompt you to configure it (If not, click on Settings > Joystick). Search for “Pitch trim” in the search box, then assign the pitch trim up and down to the direction of the wheel you wish to assign those actions.
- Click Apply, Done, then go fly!
Prepar3D:
- Plug the trim wheel into an available USB port. The computer will automatically recognize the trim wheel.
- Start Prepar3D and click Options > Key Assignments
- Ensure that you have “Flight Velocity Trim Wheel” selected as your controller, then search for “Elevator Trim” in the search box.
- Assign the pitch trim up and down to the direction of the wheel you wish to assign those actions.
- Click Ok > Ok, then go fly!